On this page
How to Make a Mac App
This section will help you to quickly get started with ComPDFKit Conversion SDK to make a macOS project in with step-by-step instructions, which include the following steps:
Create a new project.
Integrate ComPDFKit Conversion SDK into your project.
Apply the license key.
Create a New Mac Project
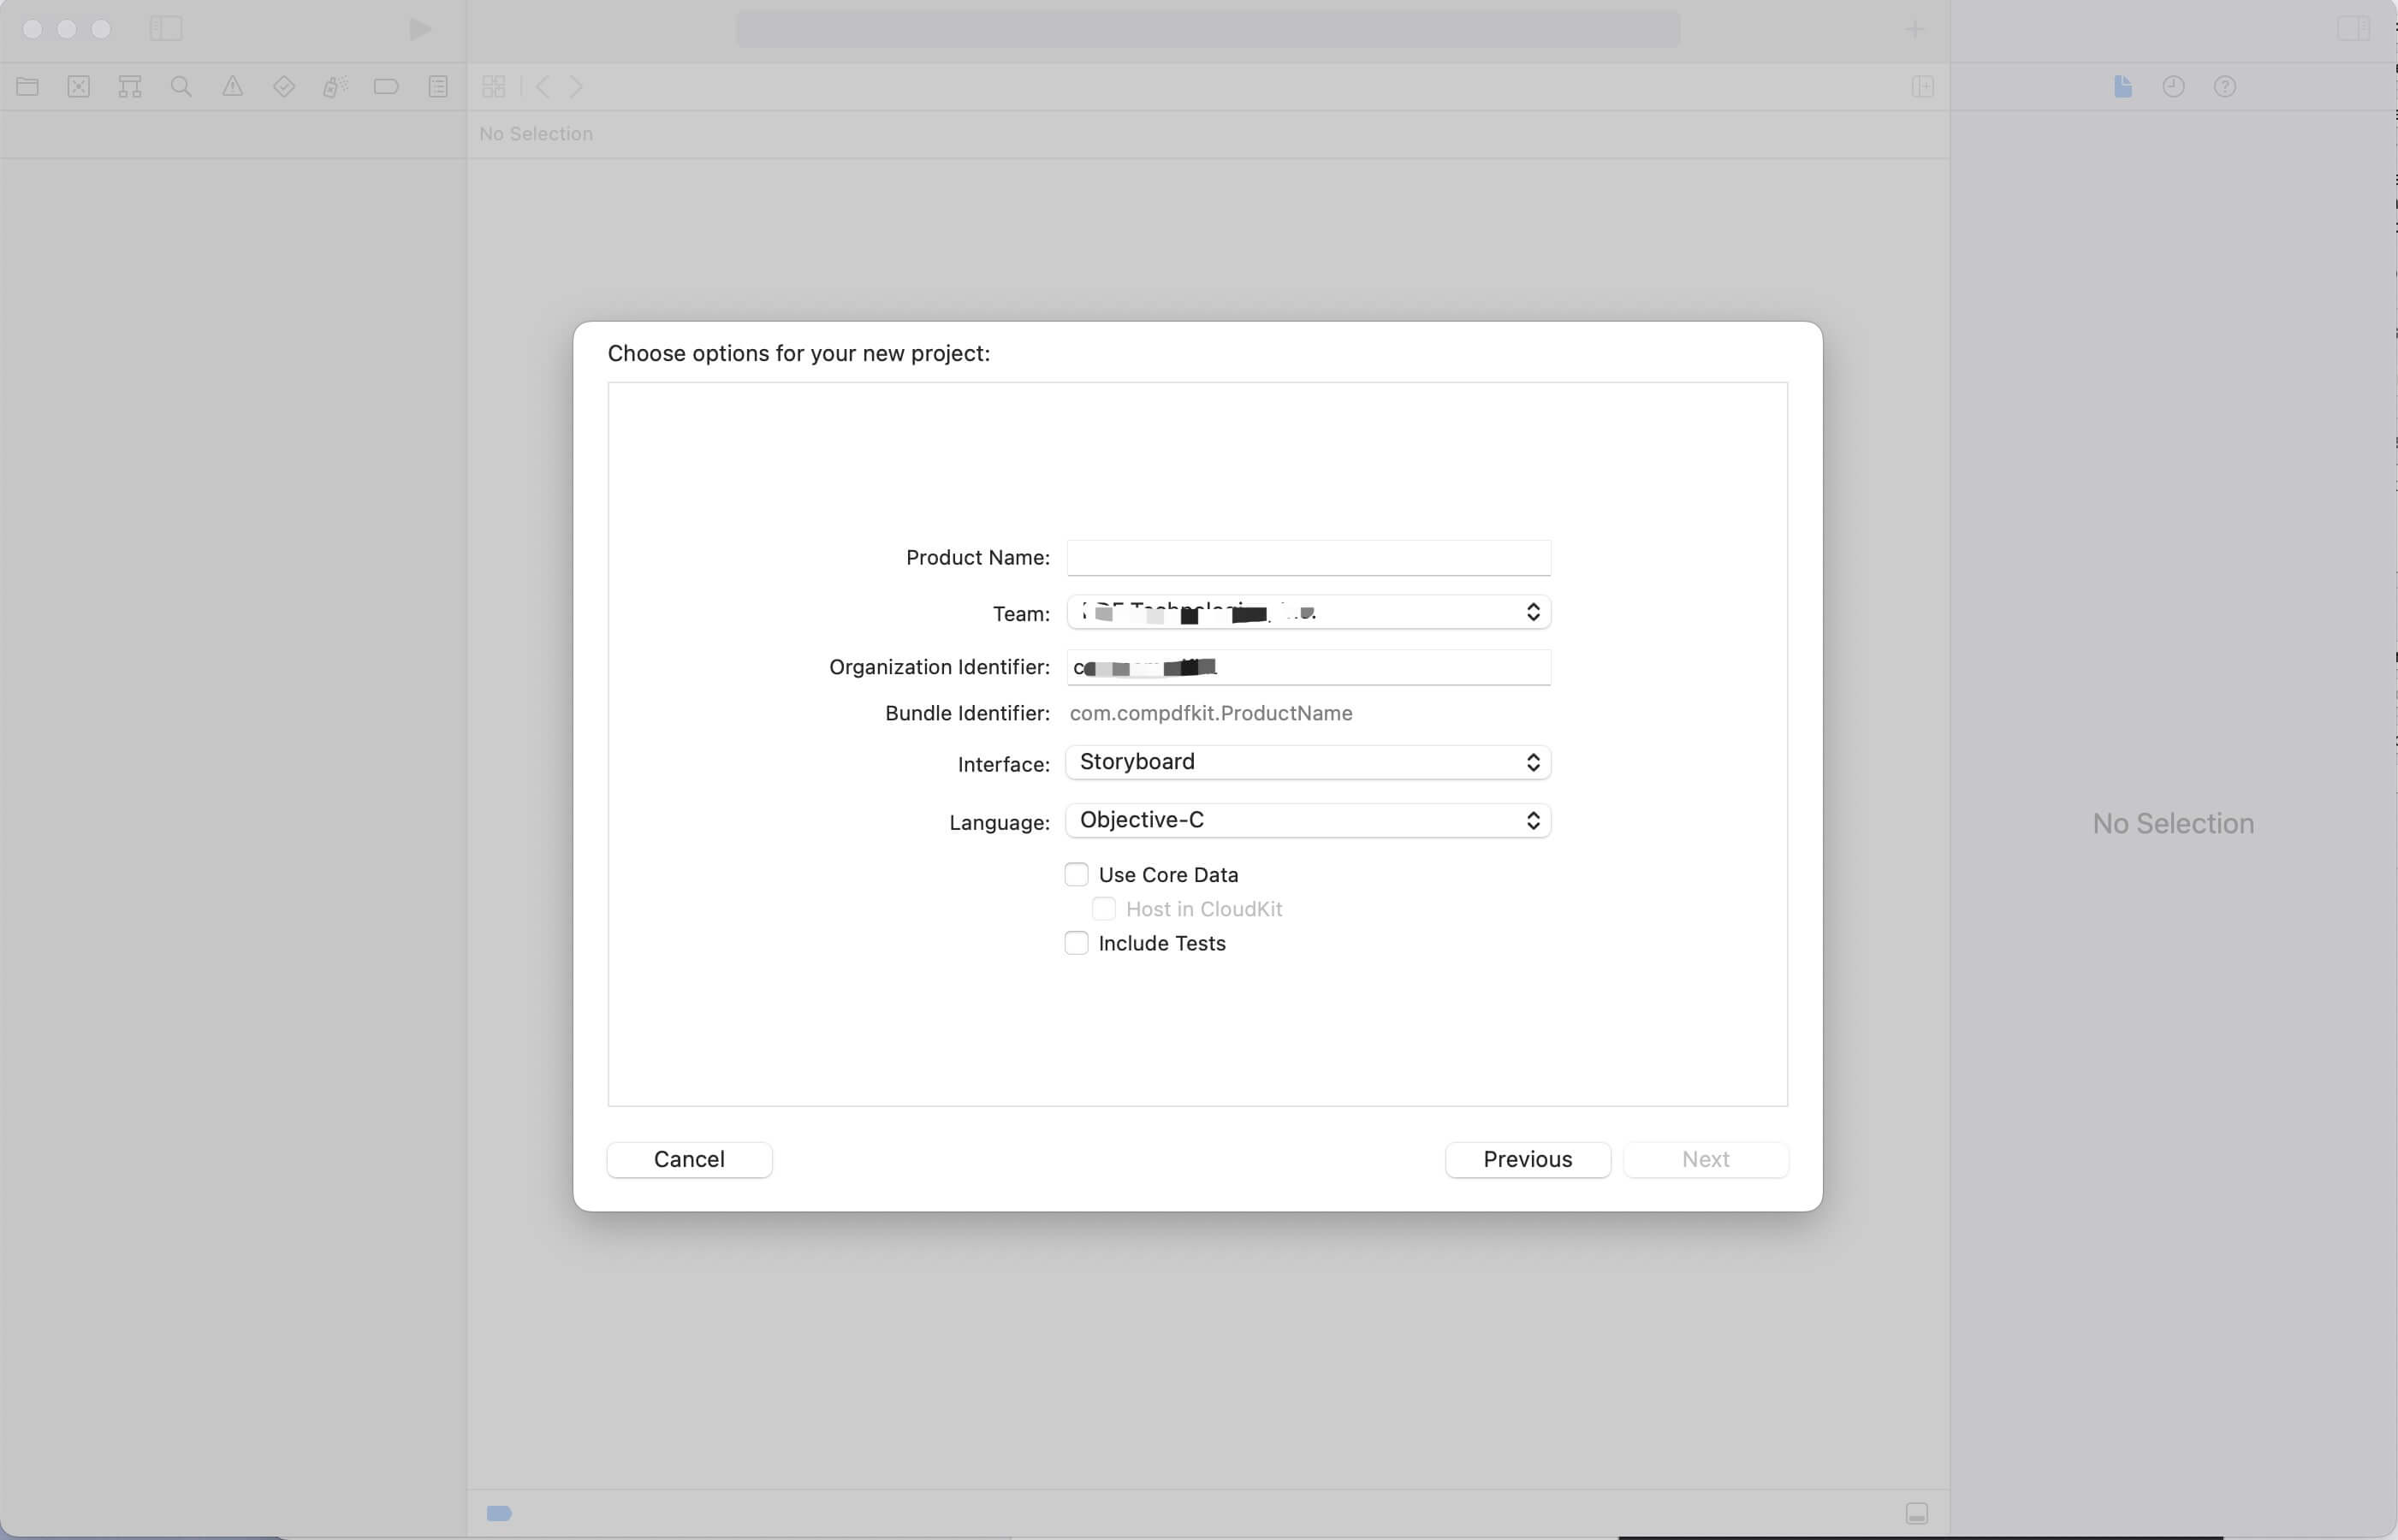
Open Xcode and select Create a new Xcode project from the welcome screen or select File -> New -> Project from the menu bar
Add ComPDFKit Conversion SDK Package
Once Xcode creates the project, add the compdfkitconversionsdk_objective_c.framework to it by following steps:
In the Project navigator, click on the project name at the top of the left sidebar.
Click on the target you want to add the framework to.
Select the General tab at the top of the main editor area.
Scroll down to the Linked Frameworks and Libraries section.
Click the + button to add a new framework.
In the dialog that appears, select "compdfkitconversionsdk_objective_c.framework", and click Add.
Ensure that the Embed option for the content added in General -> Frameworks, Libraries, and Embedded Content is set to Embed & Sign.
Ensure that the Signing Certificate option in Signing & Capabilities -> Signing is set to Development.
Now that you've added the "compdfkitconversionsdk_objective_c.framework" to your project.